Saturday, May 28, 2011

Car Show Photowalk

My first exposure to flickr was while investigating the CHDK firmware hack for Canon point & shoots. One member had some examples of HDR (this was also my first exposure to HDR as well) on the CHDK site linked to his flickr account. One visit was all it took to see the great potential of such a website/idea, fast forward a few minutes and I was flickr’s newest member. Did you know that if you have a yahoo email you already have a flickr account? It’s free to join and use, so go check it out!
A few hours later I had found a local group that did photowalks, the Photowalking Utah Group. What is a photowalk? It’s a group of photographers that meet at a specific location and start shooting, it can be for a certain amount of time, it can travel from place to place, or can be a workshop. The point of it is to see what other photographers who are at the same place and time as you “see” differently or even the same as you. You share them either in person or as with our group you share them in the group pool.
The latest photowalk was scheduled for 6:30am Saturday (May 21) morning, yeah you read that right 6:30AM! I am not a morning person, I work the night shift and I’m a big proponent that all activities (including waking up) should be banned until the sun has completely cleared the horizon. So like a true photo nut I was up at 5:45am getting dressed throwing down a small breakfast to avoid fainting later and rushing out the door for the 20 minute drive to the “UVU Auto show and Swap meet at Thanksgiving Point”
I made it just in time for the group photo and walked around the swap meet as we waited for the gates to the auto show itself to open. We had hoped to get in before the crowds hence the early start but they wouldn’t let our group in early. I caught a few keepers from the piles of rusted metal and eclectic knick knacks before heading in to see the rows of chrome and paint.
Little Horse
"This ain't no museum..."
Rusty Spokes
And Here are a few shiny objects to distract you

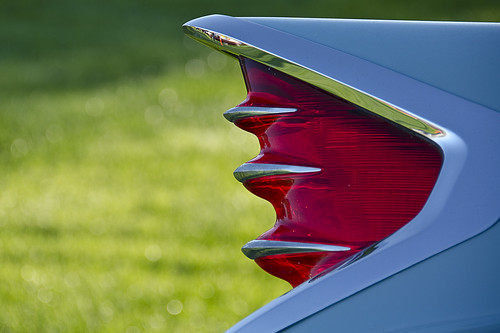
Tail Fin
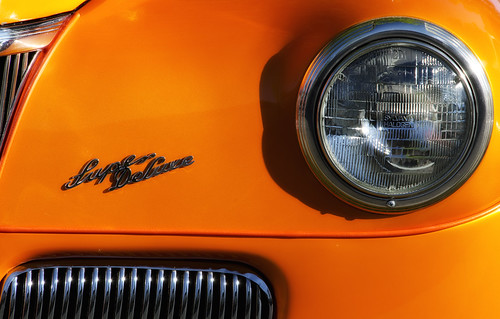
Lupe Deluxe Detail
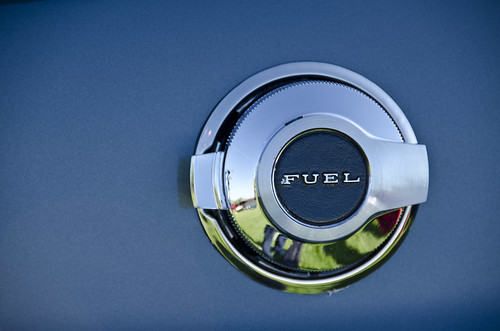
Fuel
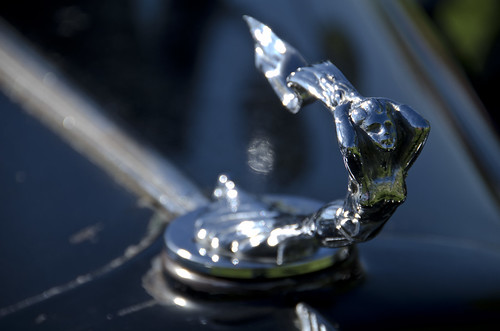
angel headpiece
383
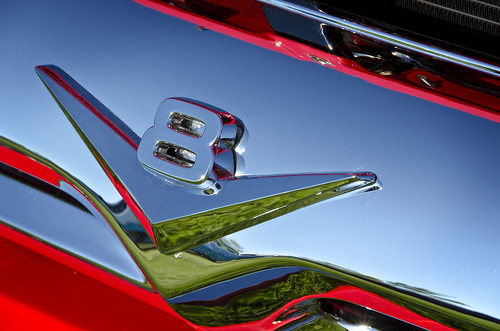
V8 logo Detail
Red Hot Rod - HDR
Orange F100 - HDR
Ford Lupe Deluxe - HDR
Patriotic Hot Rod - HDR
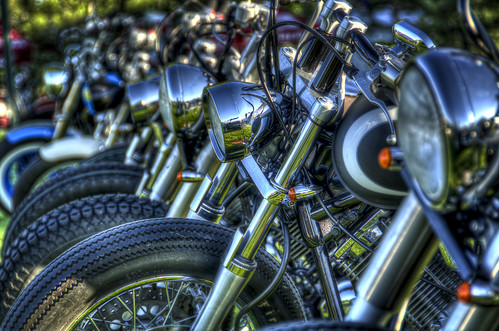
Bike row - HDR
57Bel Air Red -HDR
57Bel Air_Red interior - HDR
Even more can be seen at my

Wednesday, May 18, 2011

Macro On The Cheap - Zeikos Extension Tube Set Review

So I went on a little accessory spending spree last week and ended up buying a few things to outfit and expand my D7000 a little. Now the best accessory to any camera is a new lens and I did that already with the addition of  a 50mm f/1.8 I'll talk more about that later, but today I wanted to share with you the cheapest way to get into Macro and still get some good results all without having to shell out mega $$ for a dedicated Macro lens.
Like many photographers I spend way too much time trying to learn everything possible about this crazy addictive hobby/obsession and at some point I stumbled upon the term "extension tubes", (I've used these in my astrophotography although they're configured a bit differently)  these are basically rings you add between the camera and the lens to adjust the focal distance of a lens to make it focus at much closer distances. Most normal range lenses focus around 1-2 feet, and even farther out for the larger tele-zooms.  Using an extension tube or set of tubes you can shrink this down to mere inches. Here's the best part - they work on most lenses, and they're cheap!
While cruising through Amazon on this buying spree I was exposed to the "you might like this" scrolling bar and noticed a set of Kenko Extension tubes they looked great and cost $170, I did a little research into the brand and found good reviews but I also found an alternative set of Macro extension tubes from Zeikos that only cost $79!
Add to cart!! They arrived a few days ago and I've been taking pictures of  my wife's wilting Mothers Day flowers, and I have to say I am really impressed by how close I can focus with these tubes on. The set is comprised of three tubes (rings) of different lengths 12mm, 20mm, and 36mm that can be used alone or in any combination. The great thing about these are that they contain the electrical contacts necessary to enable the use of autofocus and metering. My 50mm f/1.8 will even autofocus through the tubes which  requires the cameras autofoucs motor to work, don't ask me how it works through three extension tubes, that's voodoo magic to me but it works.
Here are a few shots showing the flowers using various tube combinations and some wide scene shots to give you some perspective.


Here you see the three extension tubes next to my D7000

All three tubes and my 50mm f/1.8 as I shoot the Daisy

Here's the result of all 3 tubes on a 50mm @ f/22
How about some HDR shots?!

A purple Daisy backlit with the 12mm tube on a 50mm @f/5.6

Backlit petals of a Yellow/Green daisy 20mm extension tube with a 50mm @f22

The same Daisy from the front
Here's a regular shot of the smallest flower with all 3 tubes shot @f/22

The smallest flower in the arrangement, shot with all 3 tubes @ f/22

The set up for the small flower shot with all 3 tubes
As you can see you can get very close using these extension tubes. They're made of plastic but have metal components including the mounting rings, one thing to note is that you must mount the tubes onto the camera before mounting the lens onto the tubes (per instructions). They started out pretty stiff but have loosened up just a little so it doesn't feel like I'm going to squeeze my lens into an oval getting it on, they mount onto the camera and each other very easily, only the lens takes some effort.
I look forward to using these often, especially with my 18-200mm which I just haven't had the time to try out yet.
Happy CHEAP Macro shooting!

Thursday, May 12, 2011

Triopo B-3 Ball Head review (Benro B-3 Review)

Following up with my previous post on the Benro A-298 Tripod M8 review,which I wrote up inspired by this podcast, I wanted to review the ball head I put on top. I was initially looking at putting a Benro ball head on the tripod but after searching prices I came to the ralization that they were costing more than the legs. As with the tripod  istself I wanted to make sure that it would be able to carry a good amount of weight and stay stable. I found that Benro had two versions of four models to choose from (confused by that?) basically they are  the B-0, B-1, B-2, B-3, and the Bh-00, BH-1, BH-2, BH-3 the main difference is that the "H" versions have a "double action" quick release plate instead of the normal slide in dove tail "Arca Swiss" style mount that the other versions have, and they cost more!
After checking the stats on each version I decided to go overboard and get the heavy duty version the B-3 which is rated for ~26pounds, however the lowest price I could find was around $170 which was too much.  I searched for alternatives and soon found the brand Triopo, which is from what I can gather basically the same company just a new name, even the model naming convention is the same,(they even have tripods) so I found a Triopo B-3 ballhead here for $74. It ships from overseas so I ordered a few accessories to make the shipping cost worthwhile (I'll review those other accessories later as well), and waited two weeks. It actually arrived in Los Angeles after 6 days but then they shipped it to New York for customs (I have no idea why -that's government efficiency for you!)and it took another week to get back to me in Utah.

Triopo B-3 Ball Head
The Triopo B-3 Ball Head mounted on my Benro A-298 M8 Tripod
My first impressions were that this might be too big, it sure was hefty,  it arrived in a box and was packed in a nice felt type drawstring carry bag and it's definitely solid! what sets this apart from some of its littlest brothers is the inclusion of numerous controls versus just one large locking control, it has a portrait mode notch that allows you to rotate the camer to the vertical if you don't have a "L" bracket.
Starting from the base up we have a Pan control/lock this allows the whole head to swivel in the horizontal without having to use the ball head so the camera can stay level (provided the head itself is level of course), the largest knob is the Main Lock Control, the knob on the other side with the scale on it is the Adjustable Tension/Drag control so you can set the tension to hold your camera still while shooting but be loose enough that you can move the ball head and camera without needing to loosen the main control for every readjustment. This is a very handy feature that saves time and motion but takes a little tweaking with to get the right tension set, with the D7000 and a 18-200mm I needed to set it at 8-9. The top knob is for the Arca Swiss style quick release plate. It's not really "quick" in the sense that you have to tighten/loosen the knob to add or remove the camera instead of a single push of a button like some heads have, but it's really not that big a deal. It's easy to just slide it in and tighten plus I like the tongue in groove style it feels very secure versus the sloping design of some other heads.

Triopo B3 with Quick Release Plate - You can see all the controls here: QR release knob Main Locking knob, the smaller Pan lock knob, and the Tension/Drag control knob
I also like how the camera mounting plate has rubberized pads on it so it won't scratch the bottom of the camera, and helps prevent twisting of the plate on the camera under load.

Quick Release Plate-Locking Pin Top View

Quick Release Plate Underside View - I wiah it had a D-ring to ease attachment to the camera tripod socket
My only real complaint and it's very minor is that I wish the camera tripod socket mounting screw had a D ring on it to make mounting it to the camera easier, but a coin from your pocket works very well, and the plate stays put once attached. You can see the safety pin on the base in the picture above, this prevents the plate from sliding out the open sides if you forget to tighten the lock enough (if you're in such a hurry that you do forget to lock it down, you need to take a breath and slow down!!)
That's it nothing fancy just solid all metal ballhead that moves smoothly and locks tight and solid I love this versus my old tripod you can see in the previous review it's really beyond night and day difference. I'm very pleased with it and hopefully it will last me a long time, if it doesn't I'm only out $74!
Happy Shooting!

Tuesday, May 3, 2011

Benro Tripod Review (Cheap Sticks)

So I want to do gear reviews from time to time and although I wanted to eventually do a  review on tripods,  I felt a need to write one sooner due to this Blog/Podcast post I read/listened to here: http://www.photography.ca/blog/2011/04/26/tripod-photography/
First off let me say that I absolutely love this podcast! It’s very informative, fun to listen to as it’s not too long,  and Marko keeps it moving quickly without any rambling, or useless chatter. I always enjoy it when the episodes randomly play on my MP3 player at work. An added bonus is his accent which makes me chuckle everytime I hear him. J/K Marko! The major points of his advice are these: 1-Don’t go cheap, 2- Don’t buy on the internet, try out the tripod at a local store, 3-Buy one with a seperate head-again don’t go cheap. 4-Carbon Fiber to save weight.  He really hammers home the advice to not just buy it after reading reviews online but to absolutely go try it!!
I completely agree with him on all these points! That being said I pretty much broke everyone of them! That happens when you’re on a budget, I can hear you now saying “hey dummy you just bought a $1,500 camera and you can’t afford a $800 tripod and $400 Head?” Yeah that’s exactly what I’m saying,  it took me 4 years to save up for the camera and honestly I just don’t have the  patience to wait 4 years to save up for an expensive tripod and head. Also I’m of the opinion that most Photography related items are highly overpriced and it’s very disheartening to see those prices and know that you really need these things, so anytime I can “stick it to ‘em” I will. Plus I’ve got glass to buy… (don’t get me started on those prices)
So onto the review, even though I live in a decent sized city (Salt Lake City, Utah) and we have a number of really great photo stores, none of them carry off brand tripods and I wasn’t going to waste my time looking at tripods outside of my price range which was $200 or less. I think if you can do that you definitely should try before you buy, or even just to see what options you want, or to find the right height. Since that option wasn’t available to me I had to rely on online reviews and for the Benro tripods there are a few, although I wish there were more available so hopefully this one will be useful to someone who is looking. After reading and watching as many youtube  video reviews  as I could find and there were plenty of pro’s and cons given I settled on this tripod the Benro A-298 M8 I chose this model due to it’s cost, abilities (covered later) and its height. As Marko says you should get a tripod that fits your height, and even with only two of the three leg sections extended I’m able to use this without much bending.
The Benro A298M8 vs Vivitar VPT-2400
Benro A298M8 and cheap Vivitar at full height
Here we see the Benro with my old Vivitar VPT-2400 tripod this is one of those el-cheapo tripods you get at Walmart for ~$20 I’ve had this for 10 years and it’s worked great for my little point & shoot camera. But there was no way I was going to trust my D7000 to that! It actually fell over once with my P&S on it during a windy day while I was trying to get a group shot of the family on one of our excursions, this is what happened to the  camera:
Thankfully it still worked for the next 3 years, but I will never trust my D7000 on it.
The Benro has these features that helped me to pick it: 1- It collapses to a small size – 22″ without the ballhead, but is still the right height for me when extended (I’m 5’9″). 2- Weight,  Even though it’s not Carbon Fiber it’s still pretty light – with the ball head on it weighs 5lbs.  (Benro has a Carbon Fiber version) 3- the Flexpod arm which allows you to swing the camera out from the center line using the removable/reversible center column.  Some additional things I’ve found since using it is that it’s sturdy, and everything moves really smoothly. I also found that I like the twist locks ( I haven’t gotten them really dirty yet so we’ll see if I still like them after some more exposure to elements) andI love ball heads but more on that in the next review.
Benro A-298 M8
Benro A298M8 compared to Vivitar VPT-2400
Flexpod at work
The Flexpod arm holding D7000 with a 18-200mm Legs are opened to the middle angle
The flexpod arm shoing underside of center column and ball head locking screws
Center column inverted - D7000 and 18-200mm
Legs opened at widest angle
Only top 2 leg sections extended - My usual formation
Leg spreader lock openedLeg spreader lock closedBox, Bag, and accessories: Spike feet, Allen wrench, carry strap, Warranty cardTwist leg locks
Leg spreader lock closed
Twist leg locks
Box, Bag, and accessories: Spike feet, Allen wrench, carry strap, Warranty card
The included bad is very nice but just a bit too small to fit the tripod with ballhead
almost fits!!
In conclusion: Nice tripod, but what do I know I’ve used a piece of junk for 10 years?!
I have no buyers remorse whatsoever, and I’m quite pleased with the sturdiness and finish. I really hope that the influx of these lower priced tripods and other accessories will start to drive some pricing competition into the photography marketplace because it really needs it.  If you have any questions please feel free to contact me: newd7000user@gmail.com
Happy -sturdy- Shooting!